What did you do to/for your Outlander Sport (ASX / RVR) today?
 Jul 24, 2014, 09:45 PM
#226


as for me.. I got my roof basket finished and mounted until I spend the time to make a wind shield for it.


Last edited by Jonjon5; Jul 24, 2014 at 09:52 PM.
 Jul 26, 2014, 07:45 PM
#227
Evolved Member
Thread Starter


 Jul 26, 2014, 08:01 PM
#228
Evolved Member
Thread Starter
Outlander Sport (ASX/RVR) : Strut Caps
To Krakker who basically lit a torch under my feet... 
I need to really hustle to catch up with most of you guys in regards to my Modding To-Do list.
This is part of my "engine bay bling" Mod (episode 1)


Installed:


(this was originally inspired by infected's mod.)
I need to really hustle to catch up with most of you guys in regards to my Modding To-Do list.
This is part of my "engine bay bling" Mod (episode 1)
Installed:
(this was originally inspired by infected's mod.)
Last edited by mRVRsport; Jul 26, 2014 at 08:05 PM.
Jul 26, 2014, 09:28 PM
#229
Evolved Member
Thread Starter
Outlander Sport (ASX/RVR) : Motor Oil Cap
Engine bay bling (Episode II)
This oil cap is a "clone" ralliart cap that I modified with the carbon fiber (vinyl) ring.


This oil cap is a "clone" ralliart cap that I modified with the carbon fiber (vinyl) ring.
 Jul 28, 2014, 06:06 AM
#231
Evolved Member
Jul 28, 2014, 07:05 AM
#232
[QUOTE=Jonjon5;11265097]Those wheels look sweet! Did you use aerosol or spray it with a gun?
out of aerosol cans.
6 coats vintage gold (3 cans)
4 coats gold metalizer (2 Cans)
as for me.. I got my roof basket finished and mounted until I spend the time to make a wind shield for it.
This roof basket is truly amazing. the low profile truly makes it sooooooo appealing. great work with the layout.
Jul 28, 2014, 10:01 PM
#235
Check out the link in my sig to see the process
Jul 29, 2014, 12:24 PM
#237
Account Disabled

 Jul 29, 2014, 01:29 PM
#238
Evolving Member

Join Date: Mar 2014
Location: NORTH SYRACUSE N.Y.
Posts: 288
Likes: 0
Received 0 Likes
on
0 Posts
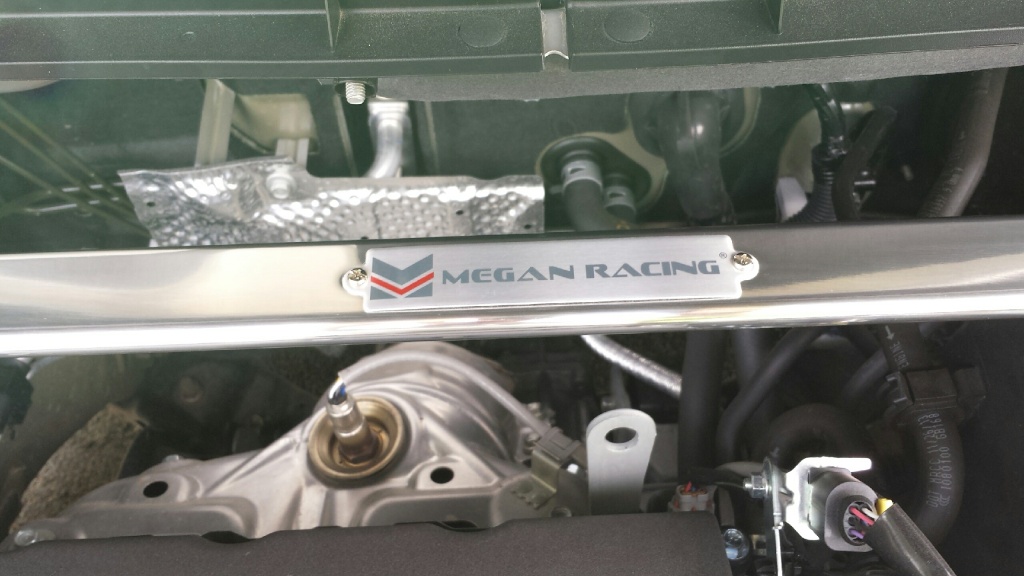
Added a front upper strut bar to mine today , very simple install and fit perfect, on to the pics
checked the fit on both sides
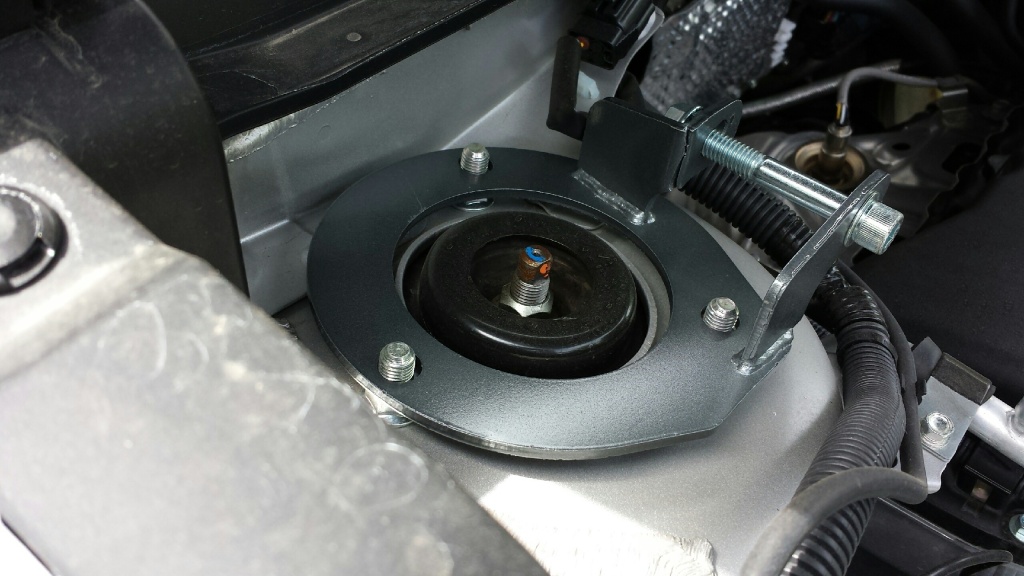
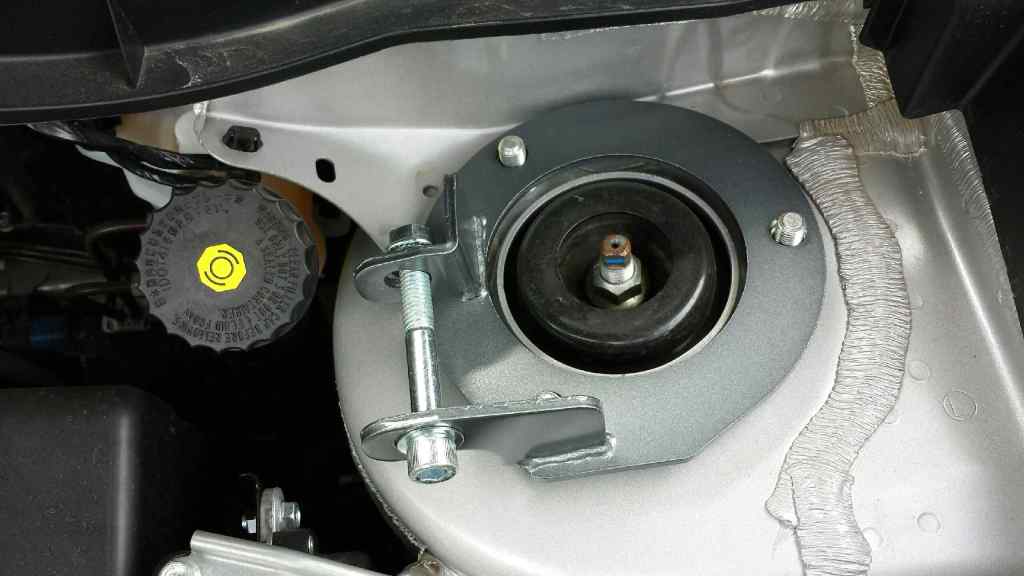
installed mounts
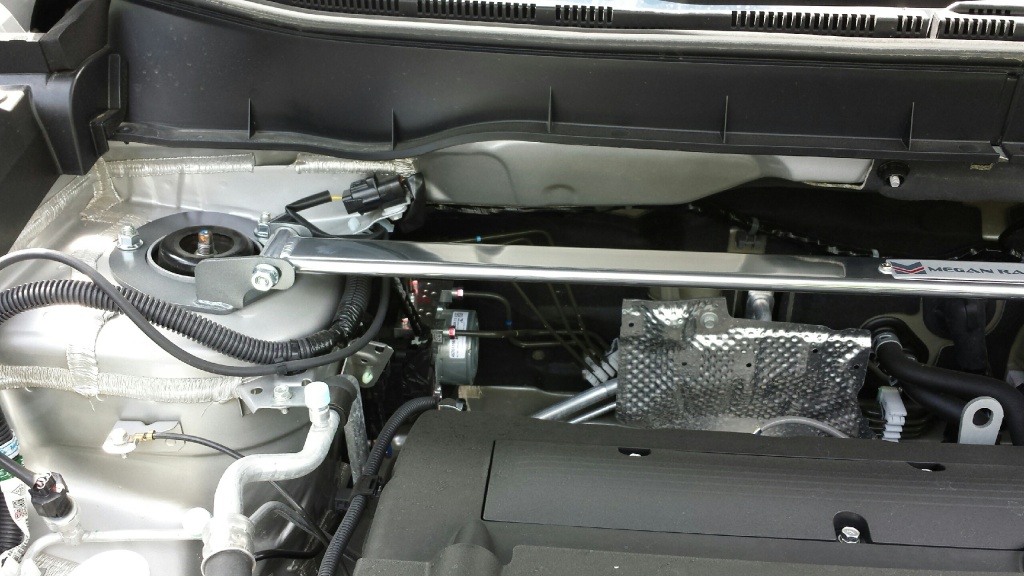
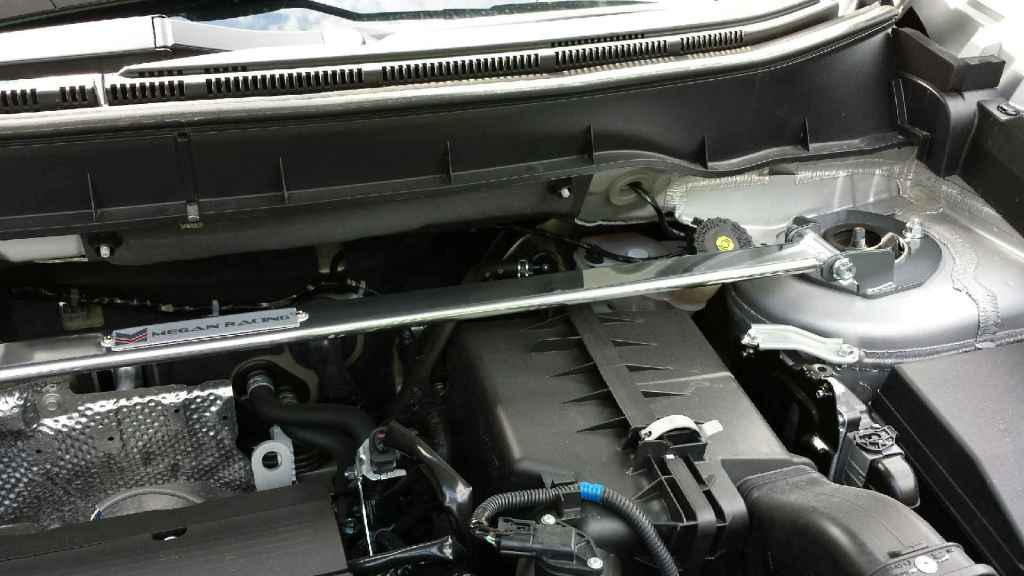
even comes with a nice badge
and a decal
here is the link if anyone is interested
http://www.ebay.com/itm/360723555573...84.m1439.l2649
Followed install instructions and it went right on , no drilling of the mount holes , super easy . Nice quality aluminum bar and decent mounting plates
and for those of you that noticed I will be keeping an eye on the right side mounting bracket to make sure that crack doesnt get any bigger or break .
checked the fit on both sides


installed mounts


even comes with a nice badge

and a decal

here is the link if anyone is interested
http://www.ebay.com/itm/360723555573...84.m1439.l2649
Followed install instructions and it went right on , no drilling of the mount holes , super easy . Nice quality aluminum bar and decent mounting plates
and for those of you that noticed I will be keeping an eye on the right side mounting bracket to make sure that crack doesnt get any bigger or break .
Last edited by paleblue46; Jul 29, 2014 at 01:35 PM.
 Jul 29, 2014, 07:14 PM
#240
Evolving Member
Join Date: Mar 2014
Location: NORTH SYRACUSE N.Y.
Posts: 288
Likes: 0
Received 0 Likes
on
0 Posts
Actually the crack looks worse than it is , I think its the angle of the picture . Its not a big deal for me I can fix it or replace it , I will be letting the seller know about it so they can check the rest of them .