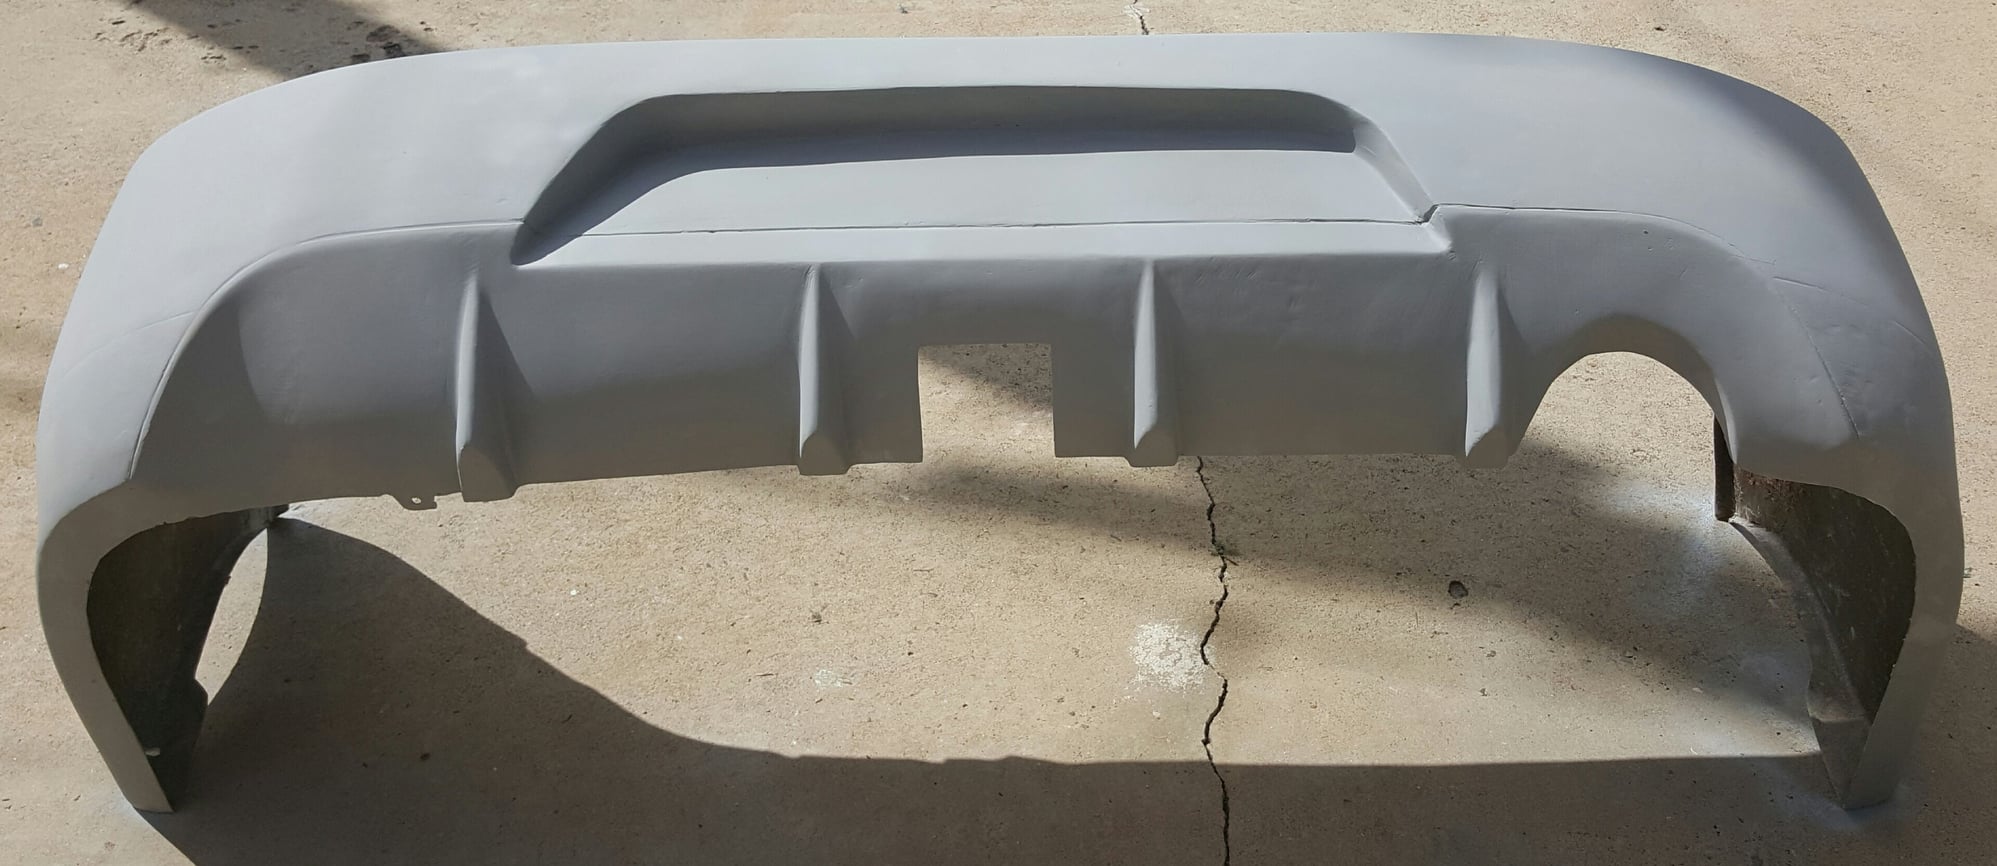
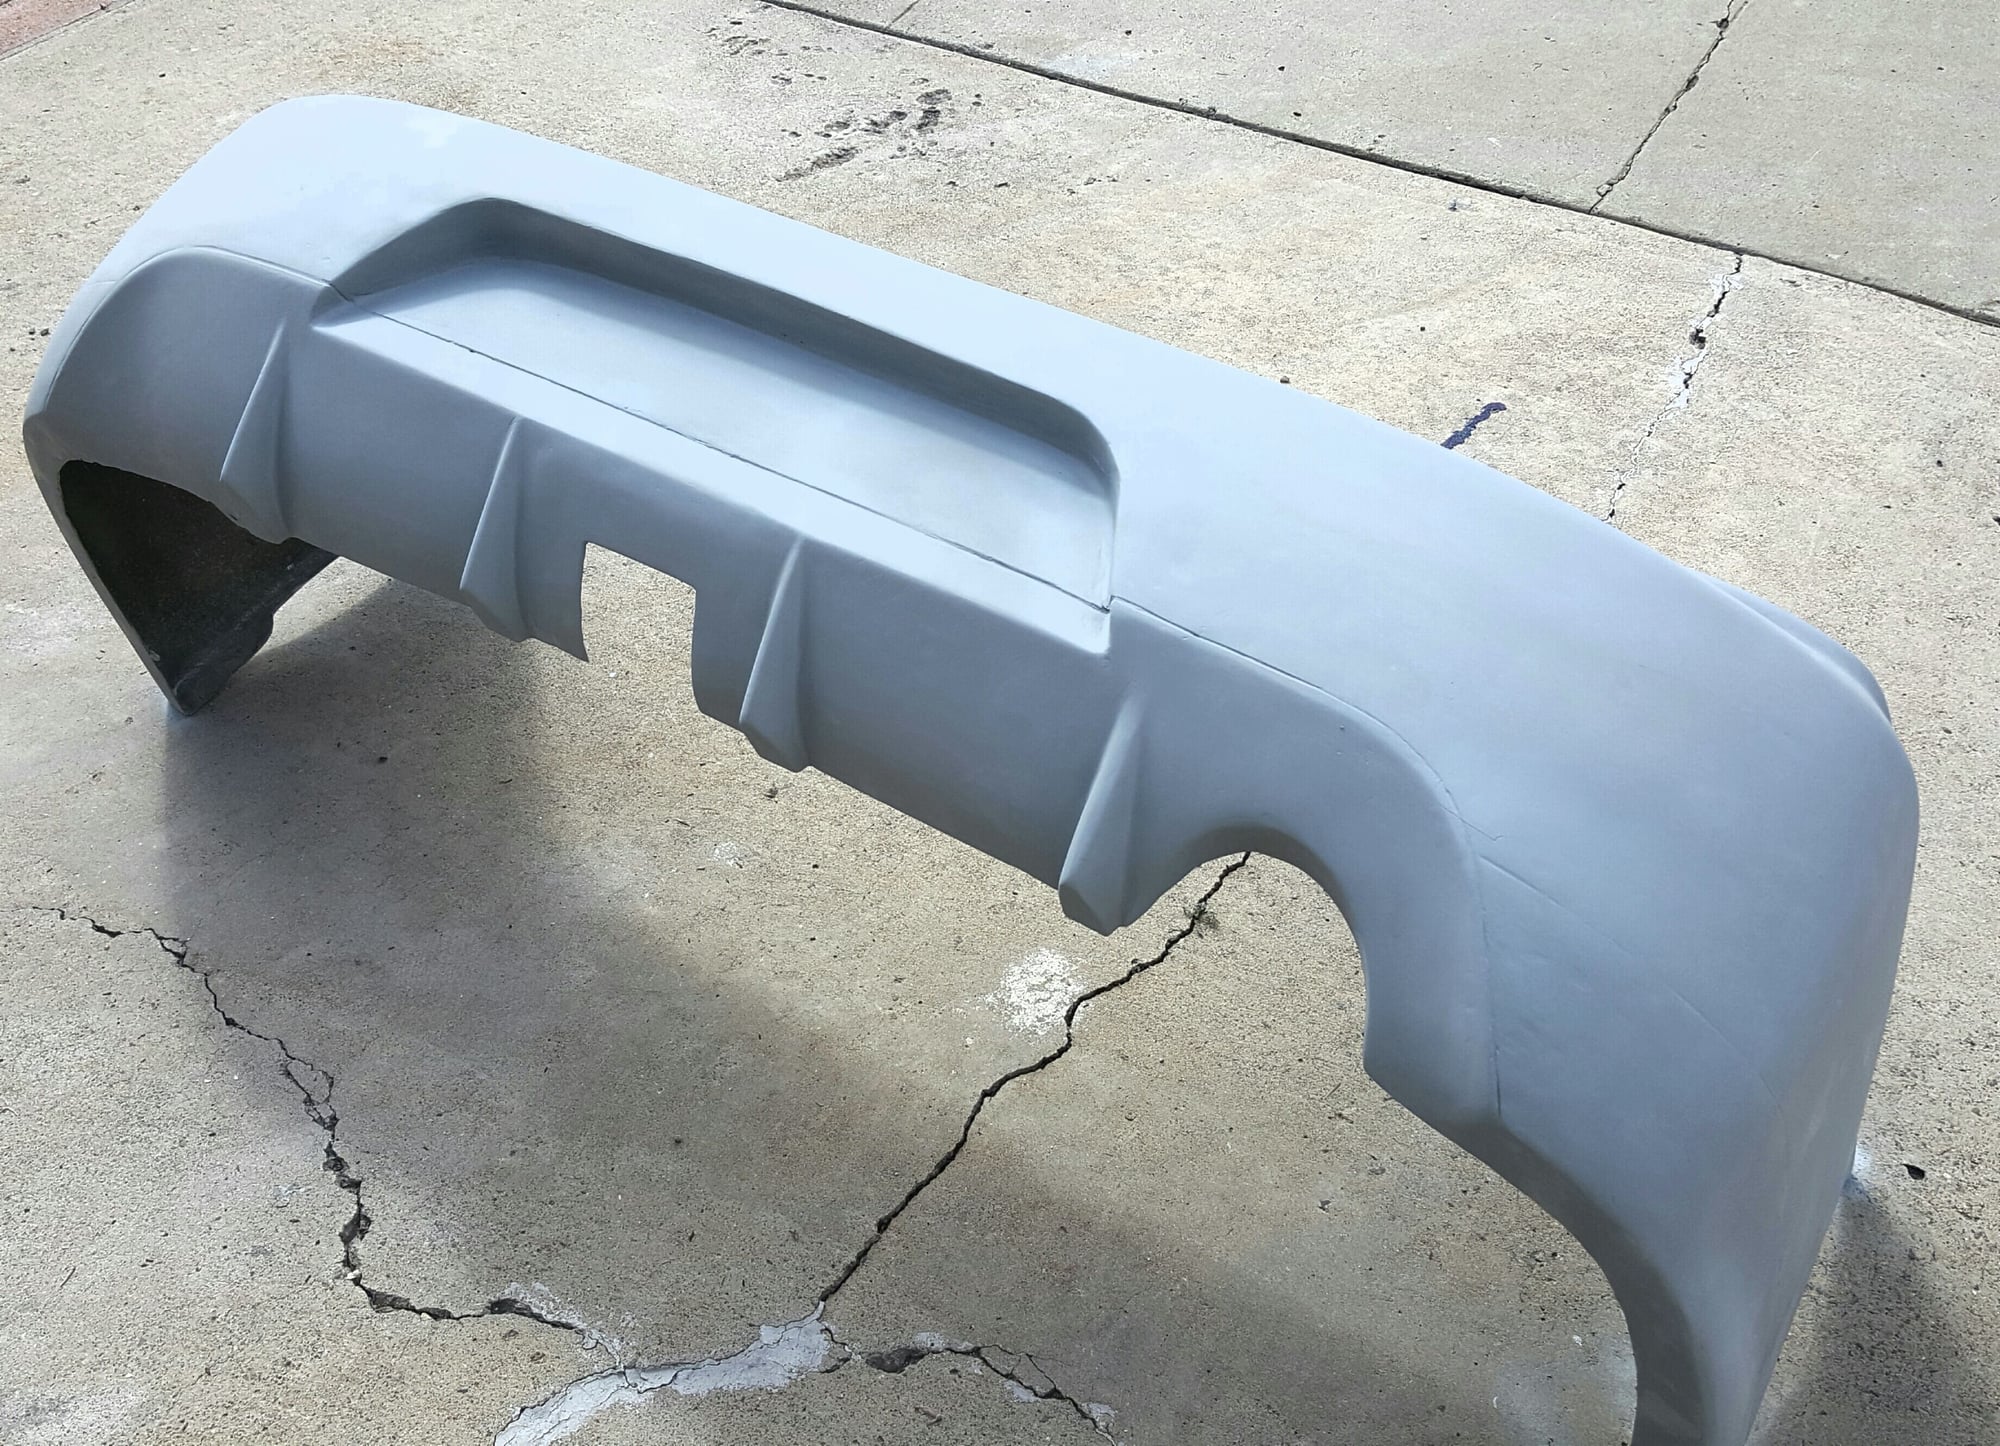
Back from the grave.... Accolade JDM Evo 9 Rear Bumper
#1
Back from the grave.... Accolade JDM Evo 9 Rear Bumper
So... 1 year ago my rear bumper got damaged in a rear end accident by some asshat college student from florida.. then 4 months later my evo7 front got damaged by old man who cant
drive worth **** (my car was parked at work).. took me months to get over the accident ( at times I felt I had to goto the hospital due to the stress from the financial loss. it bothered me
that bad, felt like I was gonna have a heart attack or somthing ).. Since then I moved out of office depot to work at home depot and much happier with less stress...
So now comes the good part ( nothing wrong with the ED version of this bumper, in fact I like it as a replacement but the accolade fits better and is closer match to the evo9 bumper..
Bought this to help me out and only cost me $25 and these mats to help doing the job


Here is what it looked like before: 1st image was when I did it myself, came out good.. 2nd image is from mod2015 not bad eh... several years difference between the 2


Closeup of what I was working on. the zip ties stayed in place until it cured and was cut later on.. As you see, a lot was done...

Put some bondo-glass on front side sanded then regular bondo ontop. still more bondo/sanding to do....


Closeup of the work.....

And the backside, going to lay more fiberglass here to reinforce it and fill the hole I cut out so it will be flush....(that section was push/cracker from accident)

As for the evo7 front... I still have the damaged one and its in worse shape than the rear bumper.. I'm currently waiting from RRM to see if I can buy a new evo7 bumper by itself
drive worth **** (my car was parked at work).. took me months to get over the accident ( at times I felt I had to goto the hospital due to the stress from the financial loss. it bothered me
that bad, felt like I was gonna have a heart attack or somthing ).. Since then I moved out of office depot to work at home depot and much happier with less stress...
So now comes the good part ( nothing wrong with the ED version of this bumper, in fact I like it as a replacement but the accolade fits better and is closer match to the evo9 bumper..
Bought this to help me out and only cost me $25 and these mats to help doing the job


Here is what it looked like before: 1st image was when I did it myself, came out good.. 2nd image is from mod2015 not bad eh... several years difference between the 2


Closeup of what I was working on. the zip ties stayed in place until it cured and was cut later on.. As you see, a lot was done...

Put some bondo-glass on front side sanded then regular bondo ontop. still more bondo/sanding to do....


Closeup of the work.....

And the backside, going to lay more fiberglass here to reinforce it and fill the hole I cut out so it will be flush....(that section was push/cracker from accident)

As for the evo7 front... I still have the damaged one and its in worse shape than the rear bumper.. I'm currently waiting from RRM to see if I can buy a new evo7 bumper by itself
Last edited by OZR_Lancer; Feb 20, 2017 at 08:34 PM.
#5
thanks.. got day off on tuesdaay to do more work, weather permitting ( its been raining here in san diego last 2 days )..
move back to san diego and ill do them for you my friend lol....
I sent you image what it looked like but here is the idea where I'm going at with this now that its initial stripping is done. this is just first part/step of
the work ahead of me. bondo is being used to fill in the groves left over from the 3m Stripper...

#6
good progress made over last week, almost ready for 1st shot primer ( to check for spots to touch up ).....

Everything was sanded with 60grit ( knock down high spots then to 120 )

once the primer goes on and lows are filled, gonna block sand more to smooth it out best I can and ill do curves by hand with a sponge

Everything was sanded with 60grit ( knock down high spots then to 120 )

once the primer goes on and lows are filled, gonna block sand more to smooth it out best I can and ill do curves by hand with a sponge
Trending Topics
#8
thanks, didn't do much other day as I was in er for 8hrs for very bad viral infection .. was so bad it felt I was chocking in the am, so I called my brother and he took me to hosp at 2.30am..
if this goes well, I'm gonna do same thing to my evo7 front since getting a new bumper from rrm didn't go thro due to unable to seperatetion of the kit
if this goes well, I'm gonna do same thing to my evo7 front since getting a new bumper from rrm didn't go thro due to unable to seperatetion of the kit


