AlchEm1st's Evo IV Coupe conversion project

 Oct 13, 2013, 12:28 PM
#197
Heck yeah! Finally some progress! 
Well the control arms are done! The KCA429 kit from Whiteline needed extensive modifications to work properly but here it is all done!
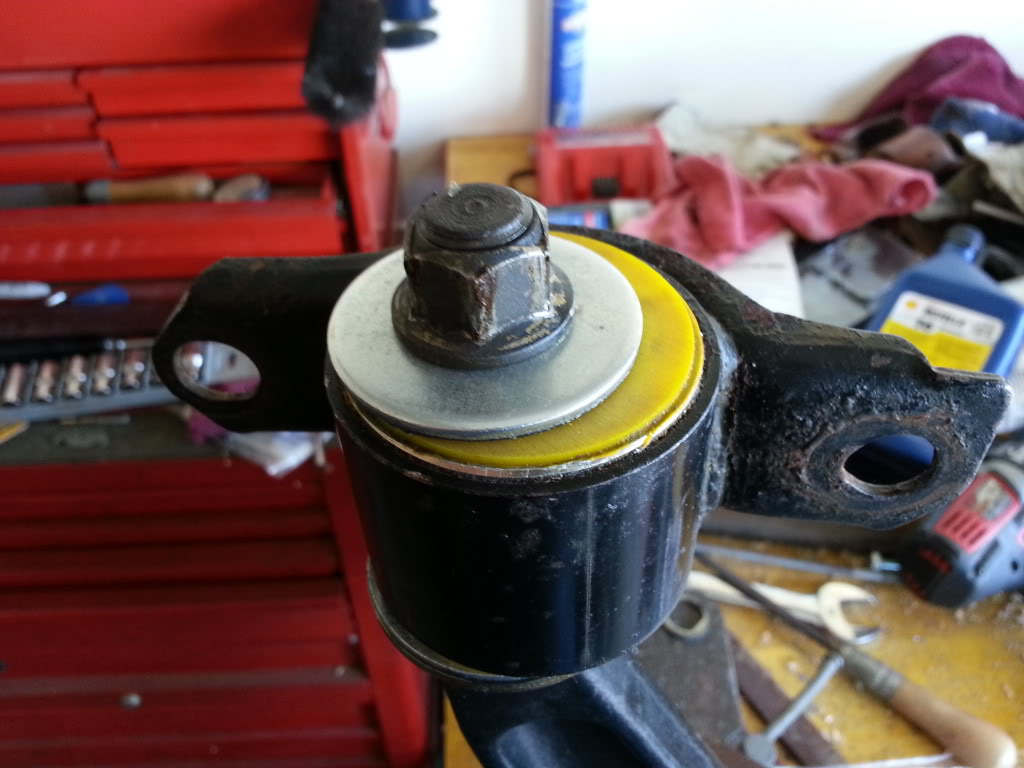
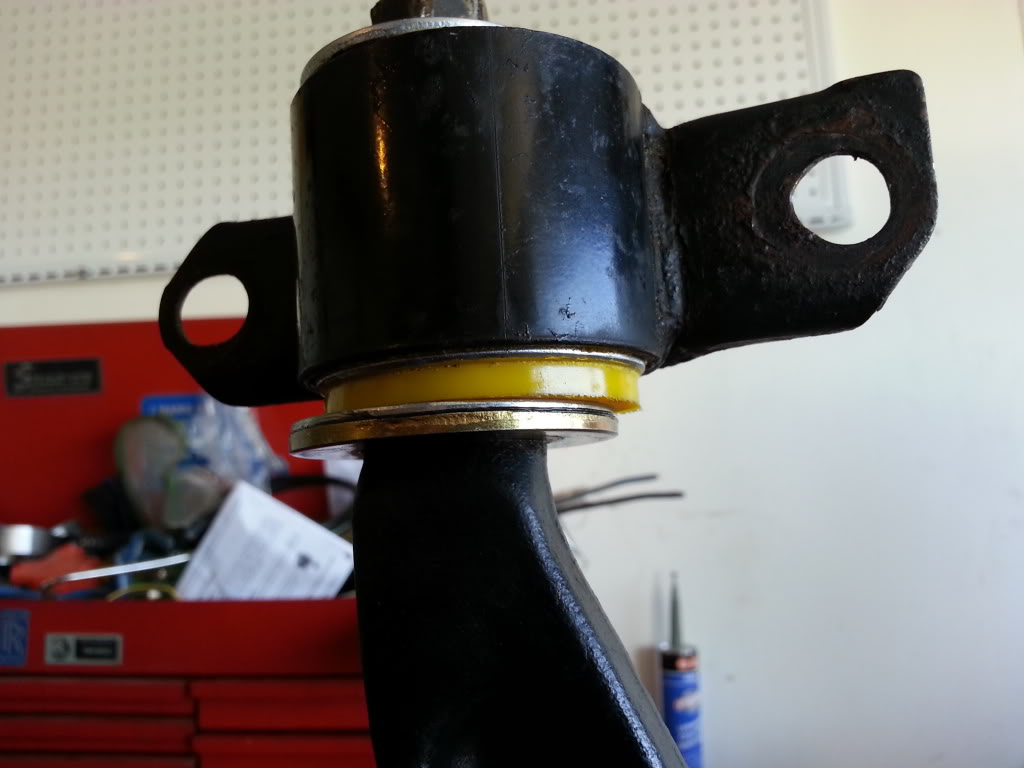
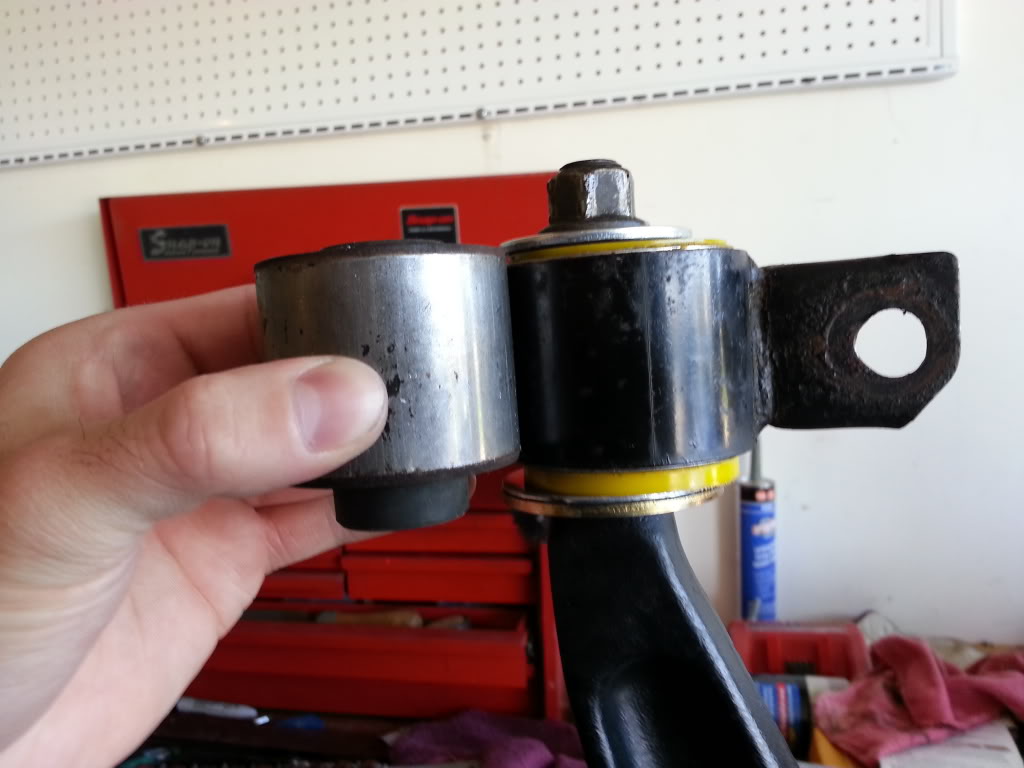
The silver washer in the first picture I had to make. It has a flat surface we machined into it that keeps it from being able to turn when
the control arm moves. If one were to use the standard washer that comes with the kit then the nut that holds the bushing on would be
able to spin and eventually back itself off which would be a major issue. In the last pic you see me holding the original bushing up to the
one. The old bushing needs to be the same length as the new bushing INCLUDING the washers. It was the same length excluding the washers
when I got it and the could barely get the nut on at all. I had to sand a large amount of bushing material off of both sides leaving enough so
that the washers wouldn't make contact with the metal bracket (which would make a ton of noise whenever the control arms moved) and also
be careful to make sure that the bracket would still remain in it's original position so I could reinstall the arms. The whole process was a huge
pain so I hope the +5 degrees of caster and slightly better feel is enough to make them worth the effort!
Well the control arms are done! The KCA429 kit from Whiteline needed extensive modifications to work properly but here it is all done!


The silver washer in the first picture I had to make. It has a flat surface we machined into it that keeps it from being able to turn when
the control arm moves. If one were to use the standard washer that comes with the kit then the nut that holds the bushing on would be
able to spin and eventually back itself off which would be a major issue. In the last pic you see me holding the original bushing up to the
one. The old bushing needs to be the same length as the new bushing INCLUDING the washers. It was the same length excluding the washers
when I got it and the could barely get the nut on at all. I had to sand a large amount of bushing material off of both sides leaving enough so
that the washers wouldn't make contact with the metal bracket (which would make a ton of noise whenever the control arms moved) and also
be careful to make sure that the bracket would still remain in it's original position so I could reinstall the arms. The whole process was a huge
pain so I hope the +5 degrees of caster and slightly better feel is enough to make them worth the effort!
Nov 6, 2013, 07:25 PM
#199
Buh.... looking at all that rust patching reminds me of times spent on my old RX-7 and Supra. Never doing that again! But I'm glad to see you've pressed on, it will be a cool car when it's all done (especially the AWD part).
Nov 6, 2013, 07:37 PM
#200
Thanks! I have six days straight off for Thanksgiving in a few weeks and I'm hoping to have the floor finished and home so I can start tearing into the car!
I'll be so happy to start cutting finally hahaha! Until then, here she sits in a just cleaned out garage ready for big things to happen!

I'll be so happy to start cutting finally hahaha! Until then, here she sits in a just cleaned out garage ready for big things to happen!

Last edited by Alchem1st; Nov 6, 2013 at 07:40 PM.
Jan 11, 2014, 08:31 PM
#201
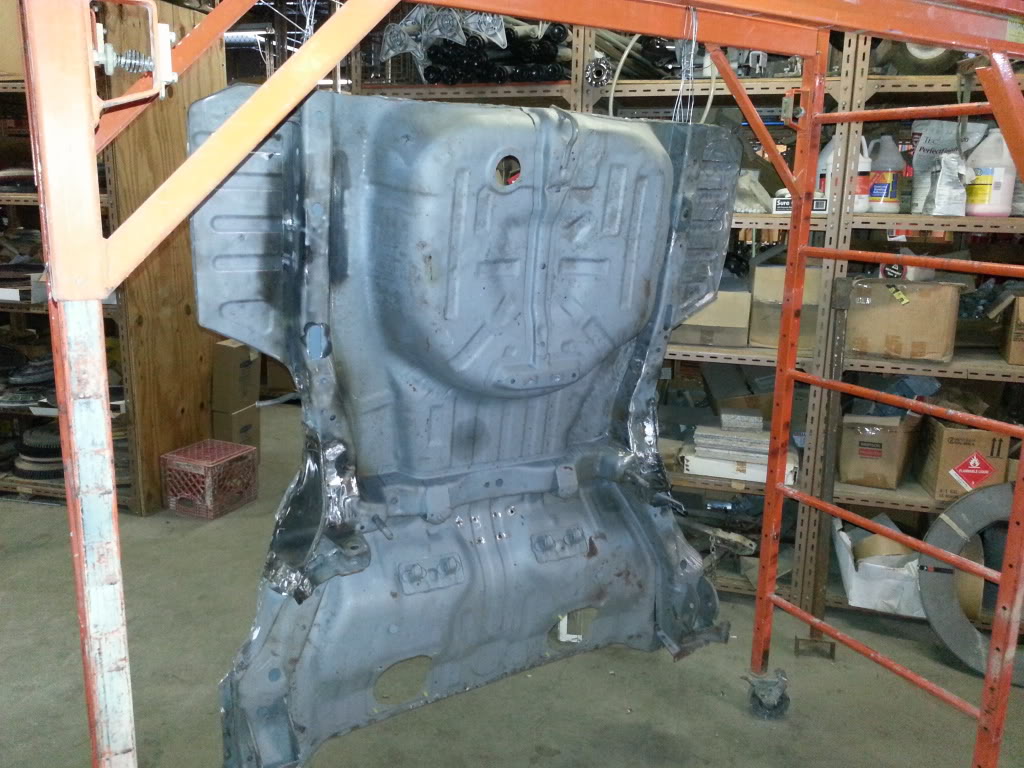
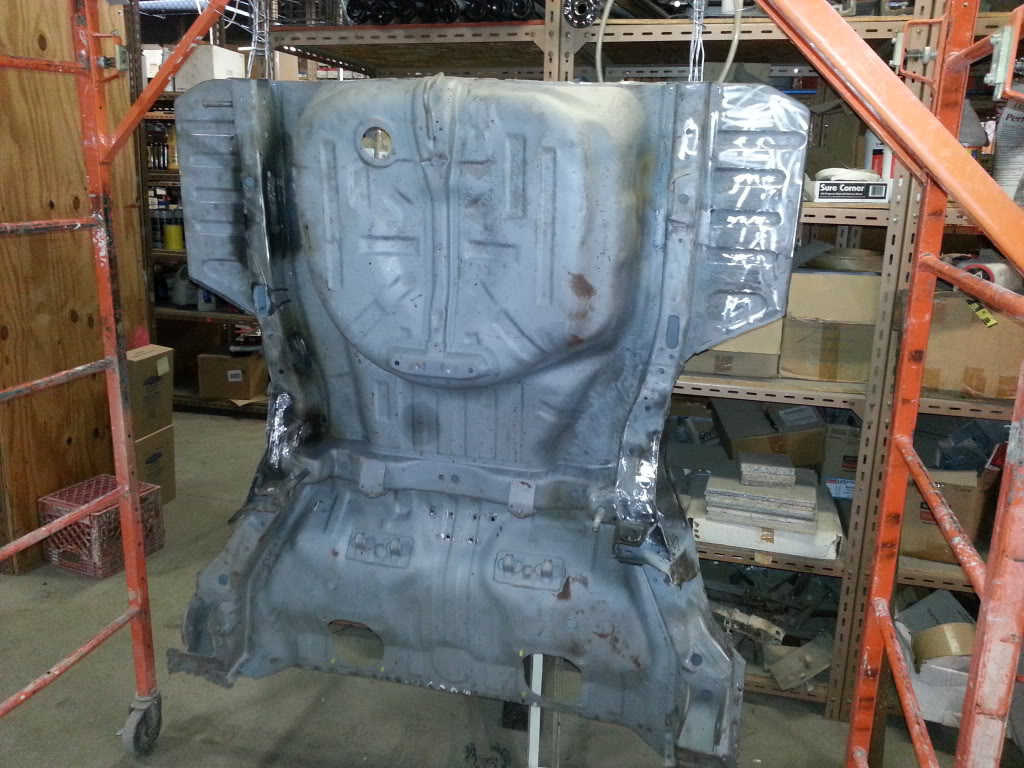
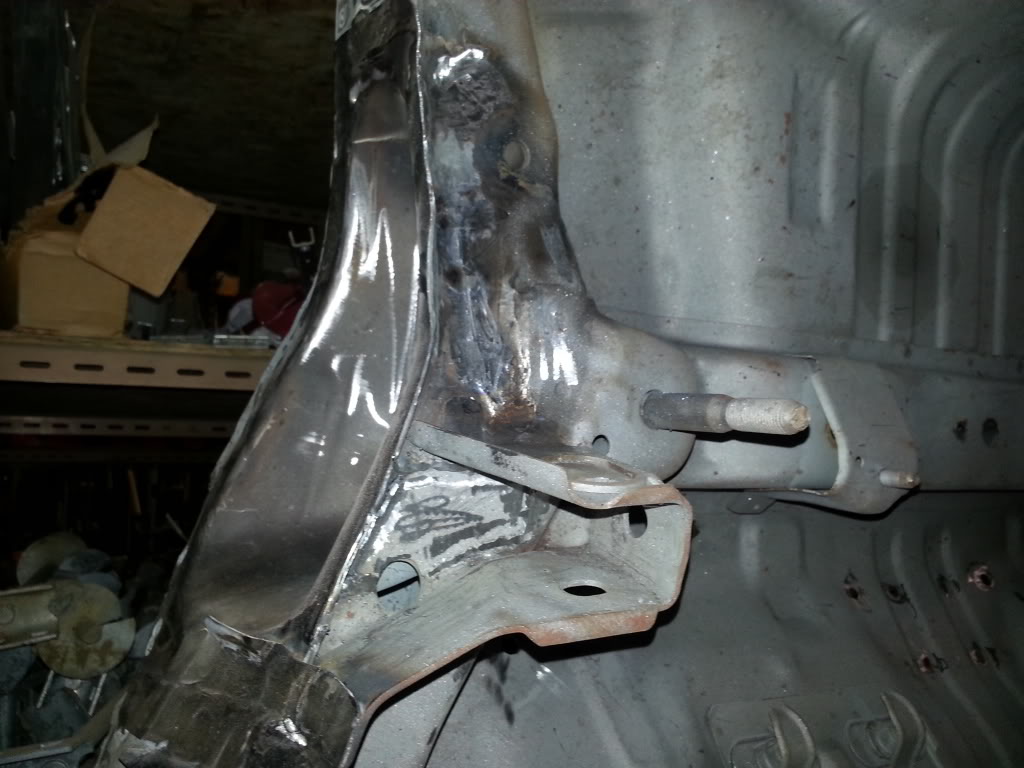
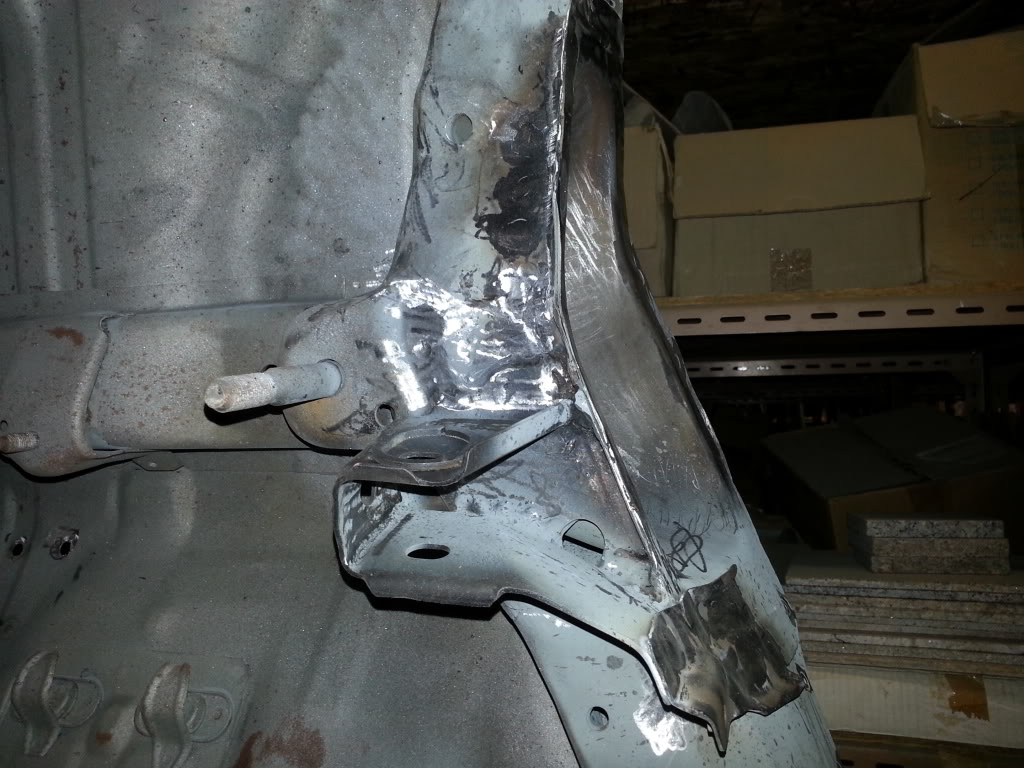
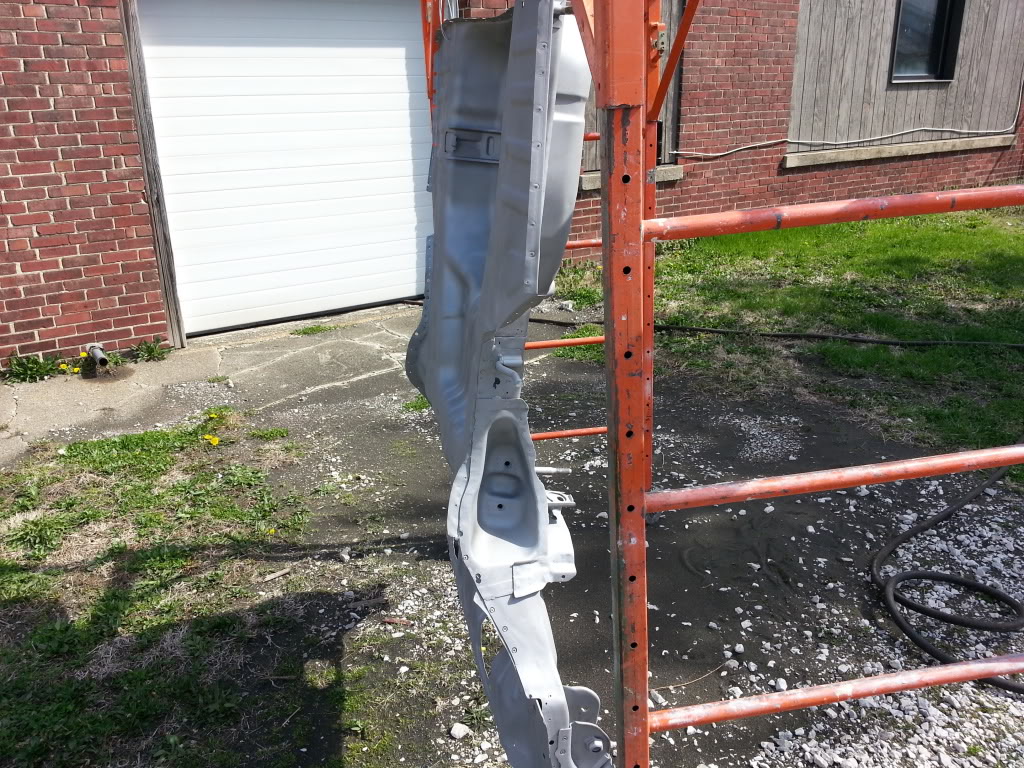
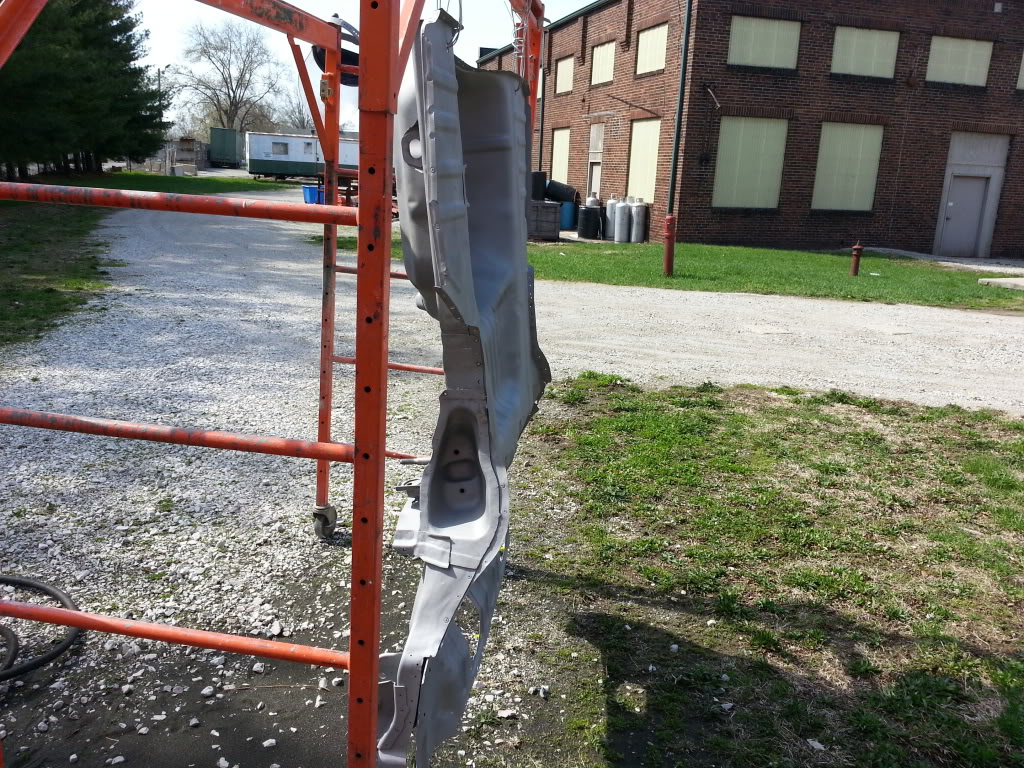
So got to check out the floorpan progress today. All the metal work is done now and there is no more rot! We have the pan hanging from a rack for a final
sandblasting to get rid of the surface rust that formed during the repair time and then it's a coat of rust converter to prevent future rot, a few coats of primer
(weld through primer around the edges), and a coat of paint to seal the center section. We will leave the edges primer until the welding is done; then it will get
a final coat of paint. The plan is to use old school splatter paint in the trunk and just a coat of black underneath as it will be covered by undercoat once it's done
to seal it. It's gonna really look different once it's all painted up and ready to install! Should easily be ready by the end of the month, and my brother should hopefully
have his stuff out of the garage by then too so we can start the swap! At last! =-)


 Apr 18, 2014, 09:21 AM
#202
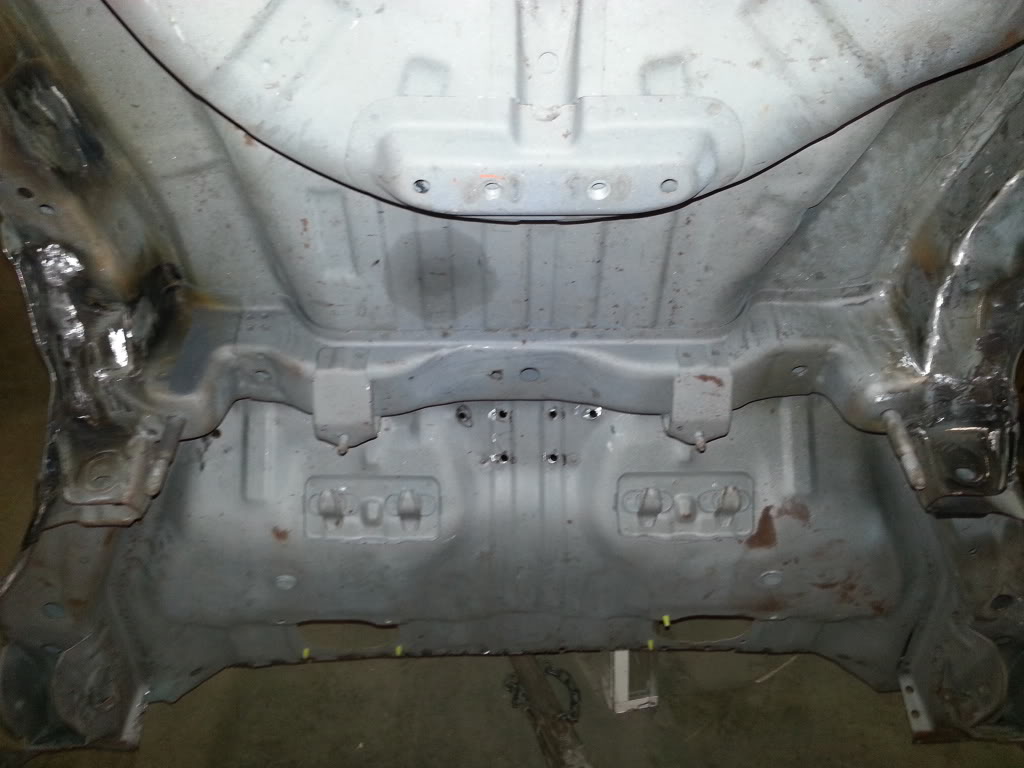
Got some work done on the pan! Sandblasted and rust treated! It has to cure over the weekend and then we can shoot
some primer and a little bit of paint and it'll be ready to swap in!
Sandblasted!
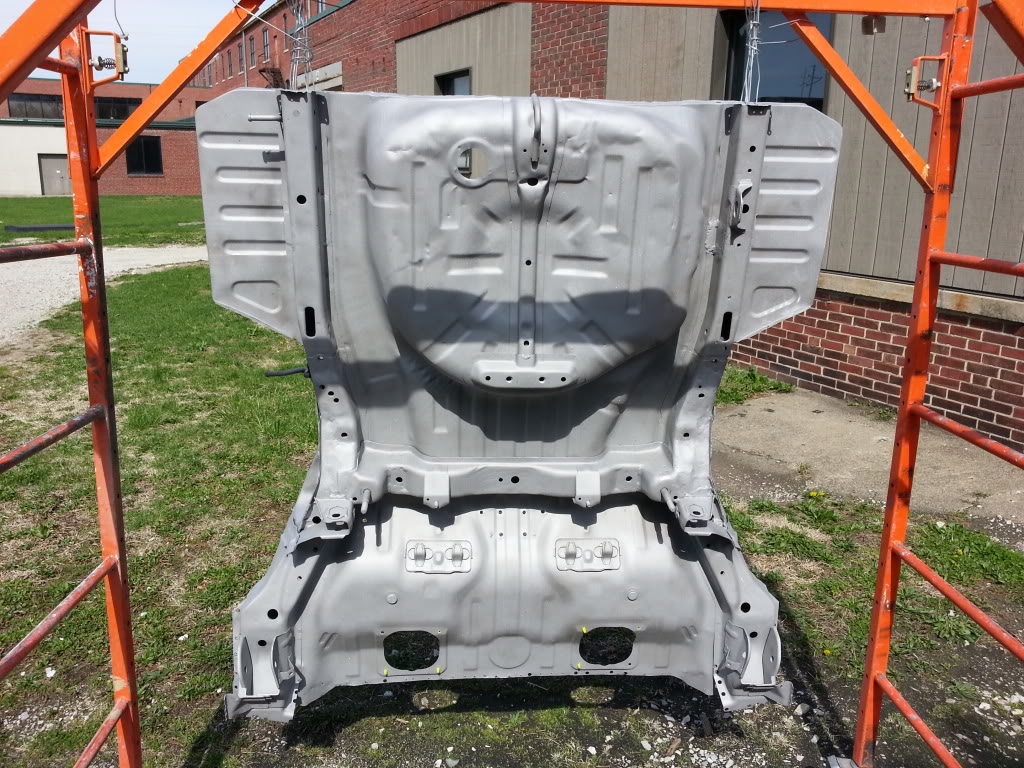
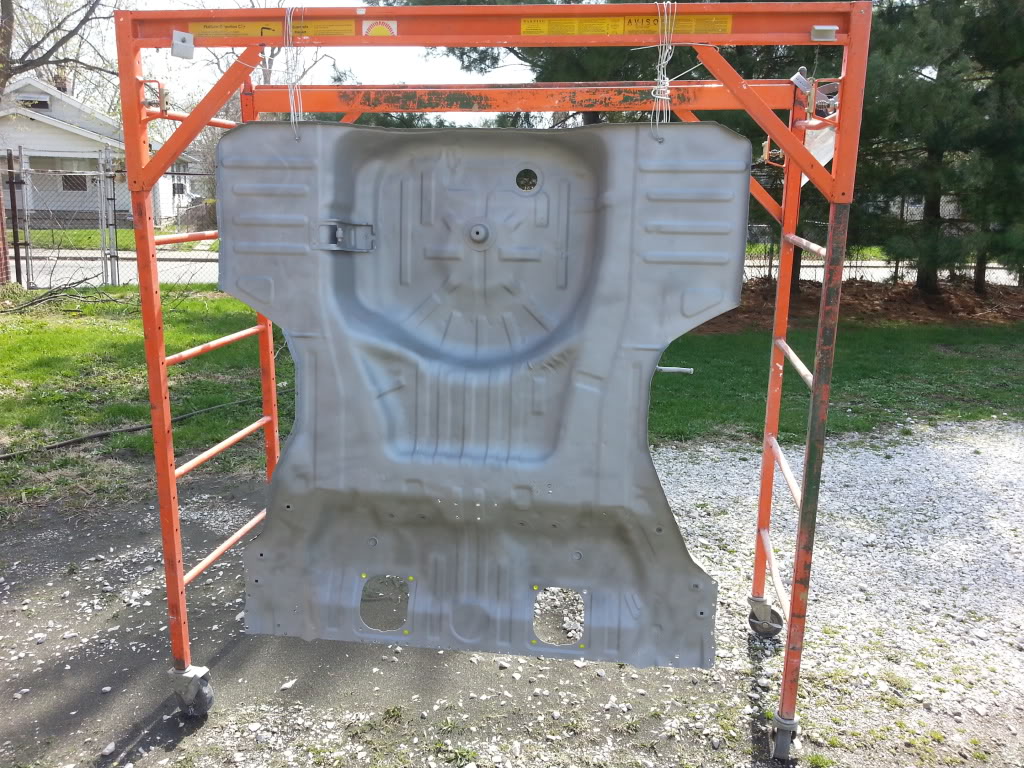
Rust treated!
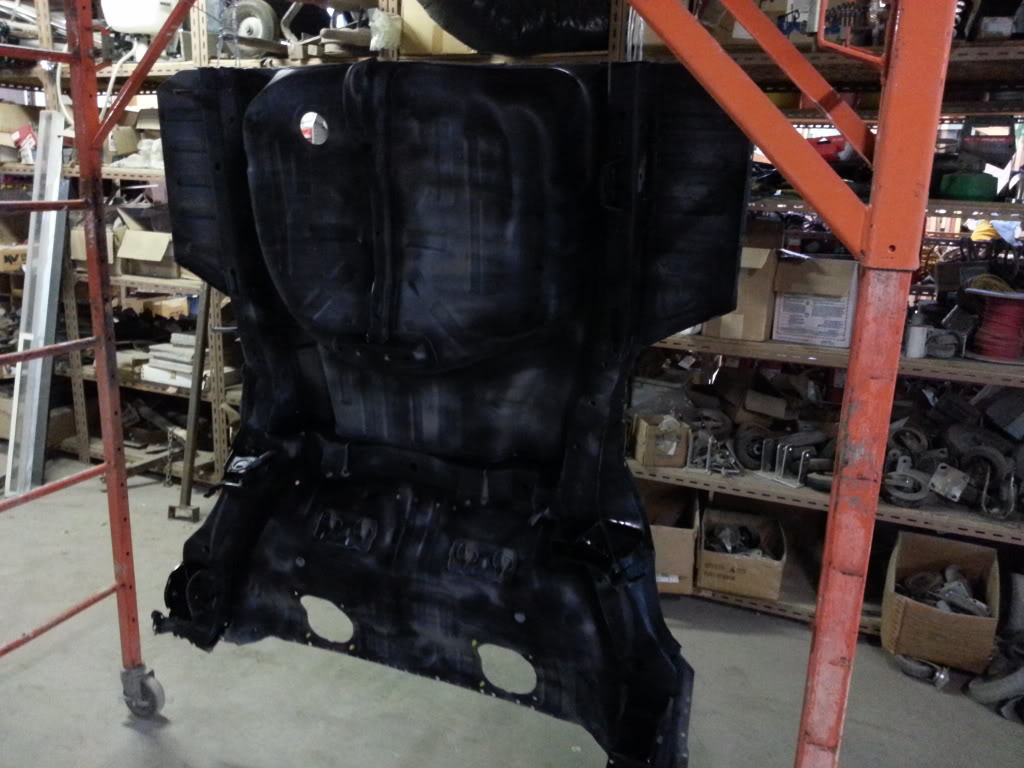
This stuff is great!

some primer and a little bit of paint and it'll be ready to swap in!
Sandblasted!


Rust treated!

This stuff is great!


 Apr 29, 2014, 10:30 AM
#210
Today's 15min project! Installed the Evo coolant reservoir. Didn't even realize it was different until a few days ago lol.
Since I bought the half cut I already have it too! This is why I think buying a cut is the best way to go.
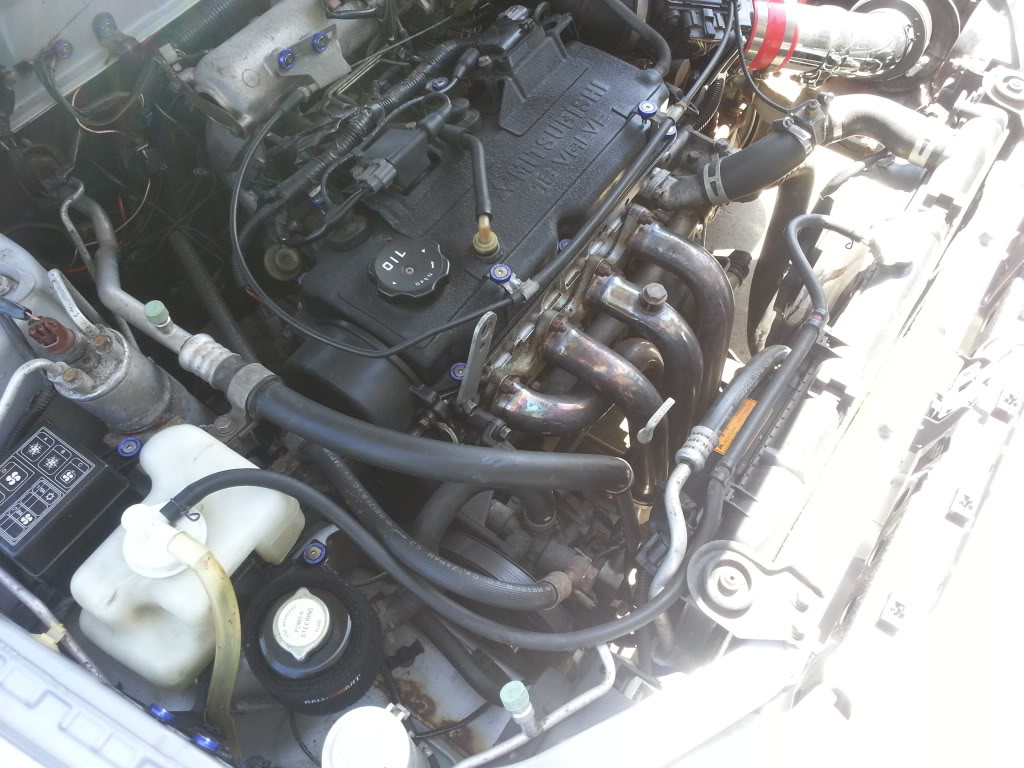
Since I bought the half cut I already have it too! This is why I think buying a cut is the best way to go.
